Matt and I love to try new things, explore little antique shops and flea markets, get creative, and even splurge every now and then.
However, we’ve really tried to be intentional about sticking to a budget and choosing to live more frugally, especially when it comes to our little house.
So much of the stuff we have, we’ve made, received from family, or have sentimental value. For example, we have a little table that sits behind our couch that we found for $20 at an antique shop and used as the table for communion during our wedding ceremony.
We also have an ugly plaid couch that was my grandma’s. It’s hideous. I’ve been wanting to replace it but we decided to just get a less hideous (but still goofy looking) neutral couch cover for now so that we could save for an anniversary getaway.
Our other couch? It was $150 and has rainbow pillows, so, there’s that.
When we were dating, we made a coffee table out of pallet wood together one weekend in the summertime. Now, it sits in our living room.
Last year, he made me a desk and it’s now used as decor in our spare bedroom.
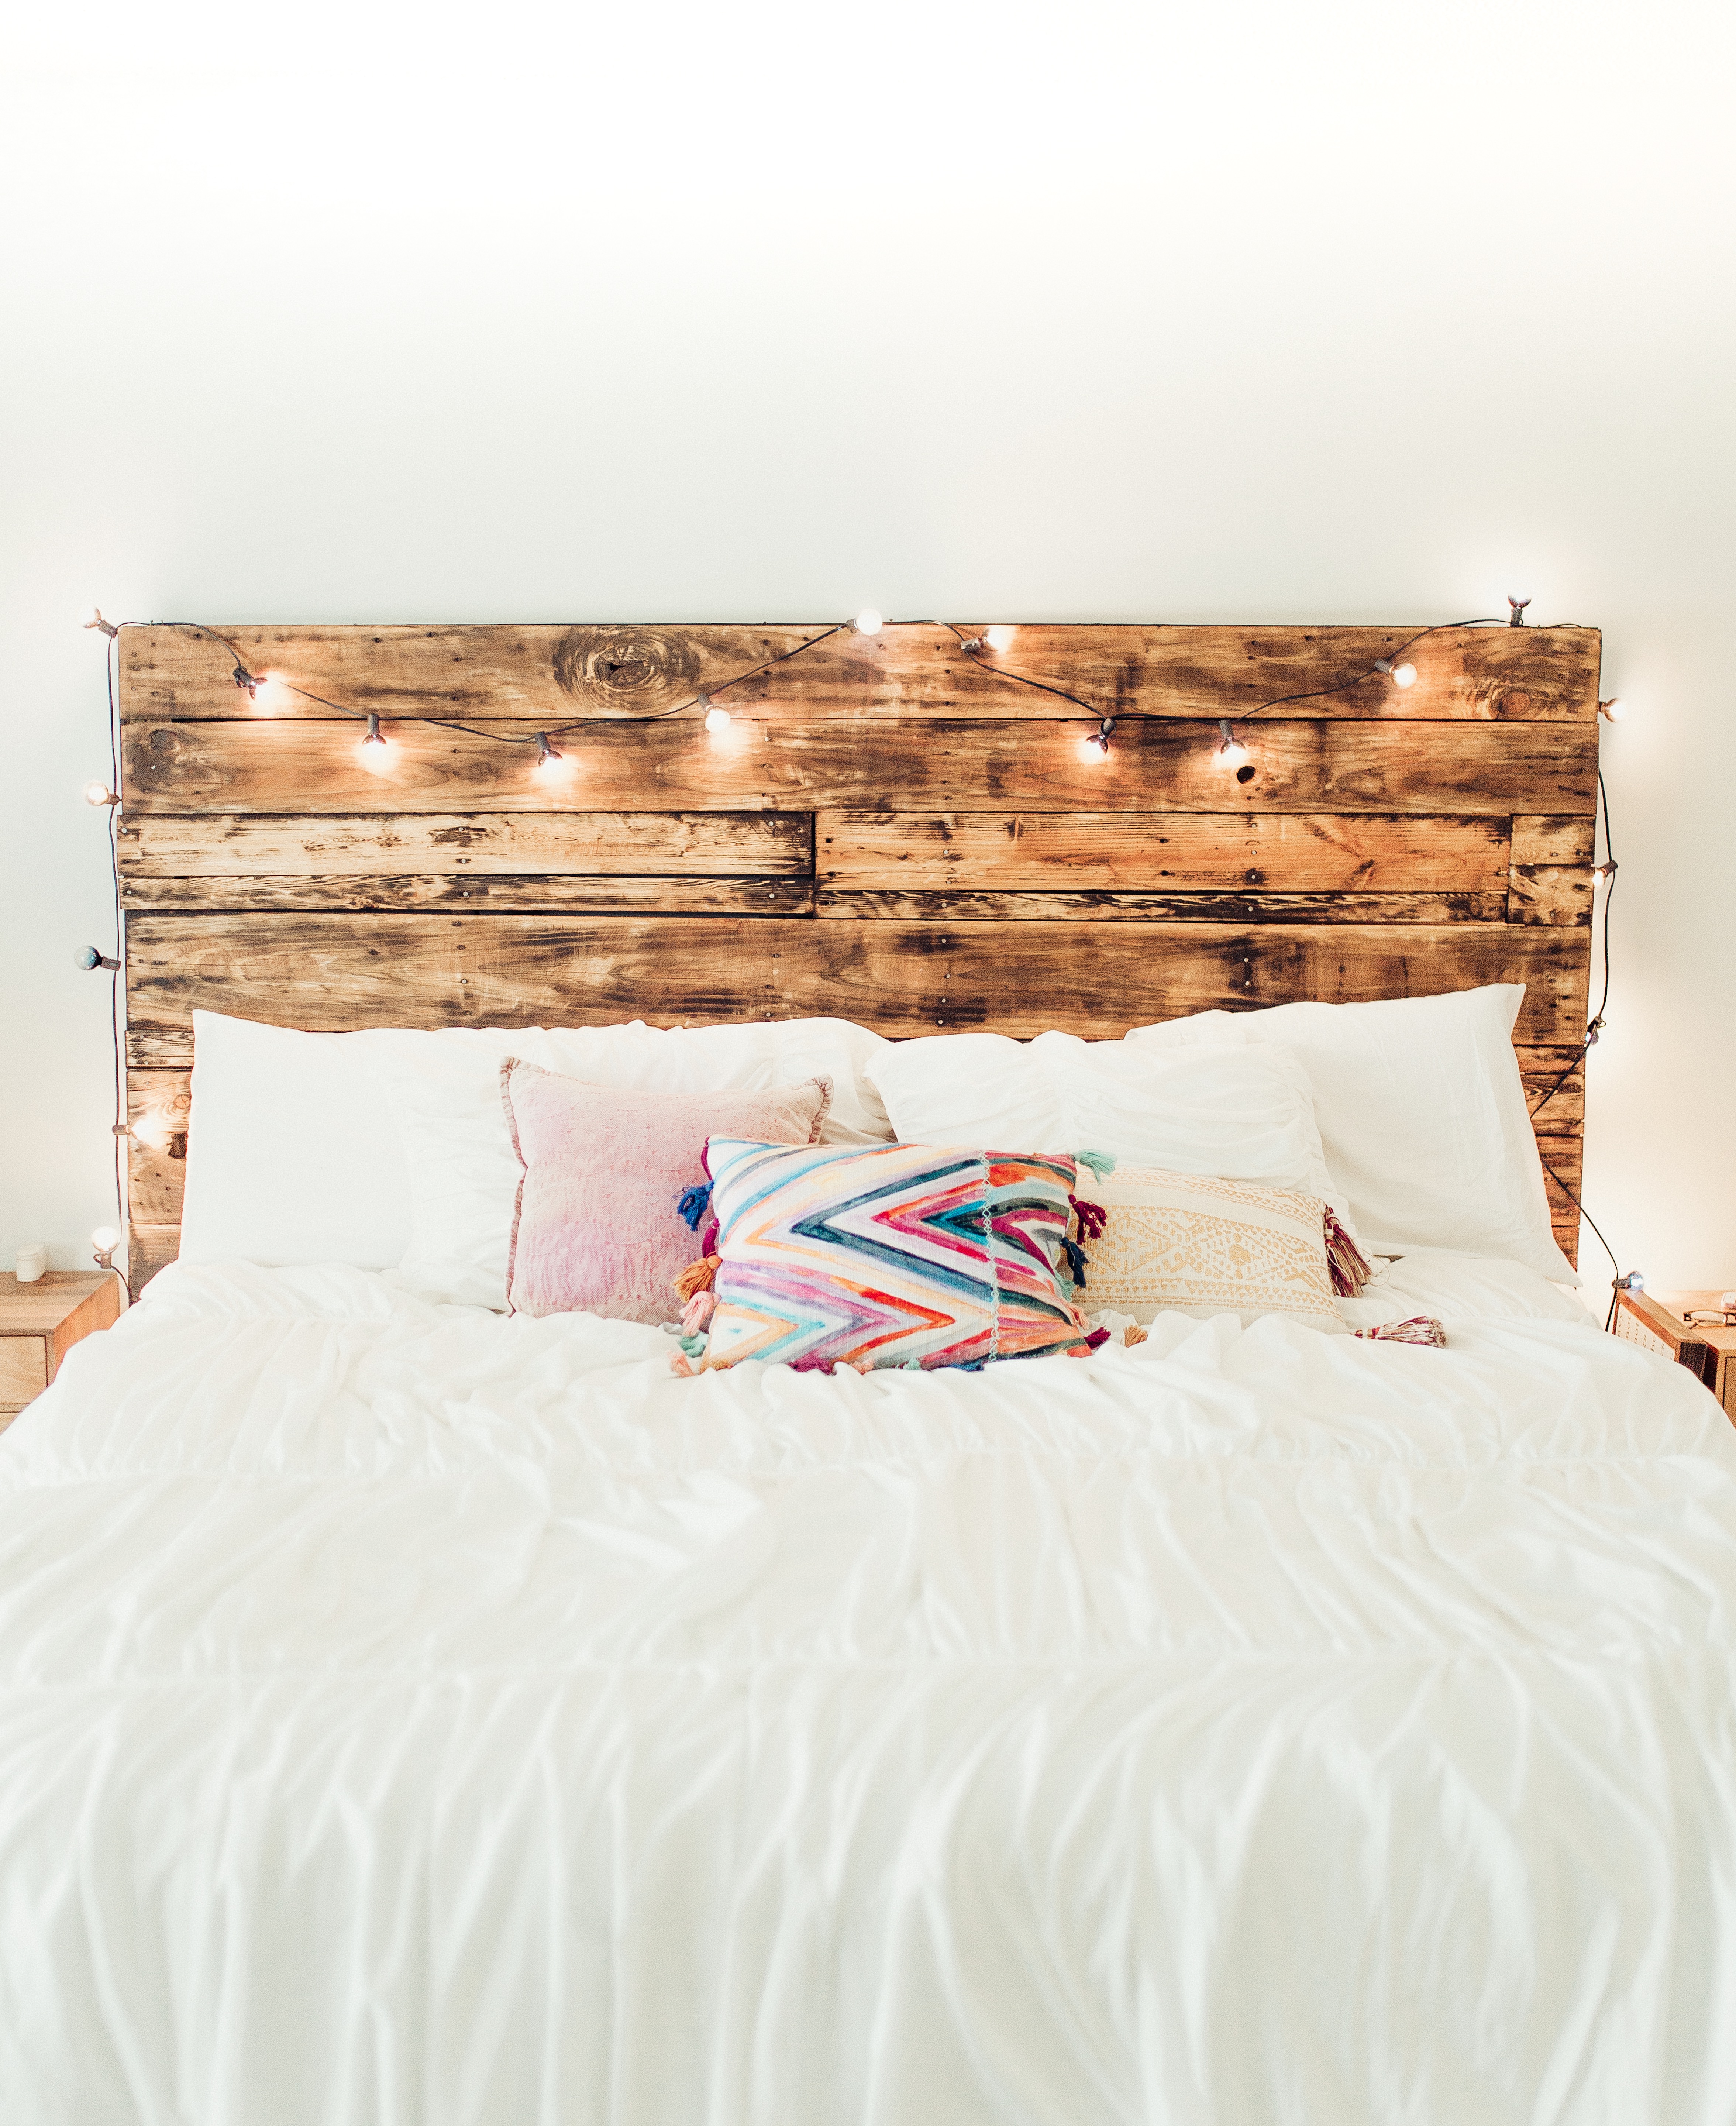
And most recently, we made a pallet wood headboard.
*Disclaimer: when I say “we”, I really mean Matt. I gave some creative ideas and direction, helped pick out the stain and lights, etc. But let’s be honest, he did most of the heavy lifting on this project. I love that he’s such a handy man and loves to create.
Anyway, I absolutely love unique pieces and Anthropologie style furniture and Matt loves the Restoration Hardware look BUT we really wanted to be good stewards of our money and see what we could make for $20 instead of $2000, so we put our noggins together and tried to combine those looks without spending an arm and a leg.
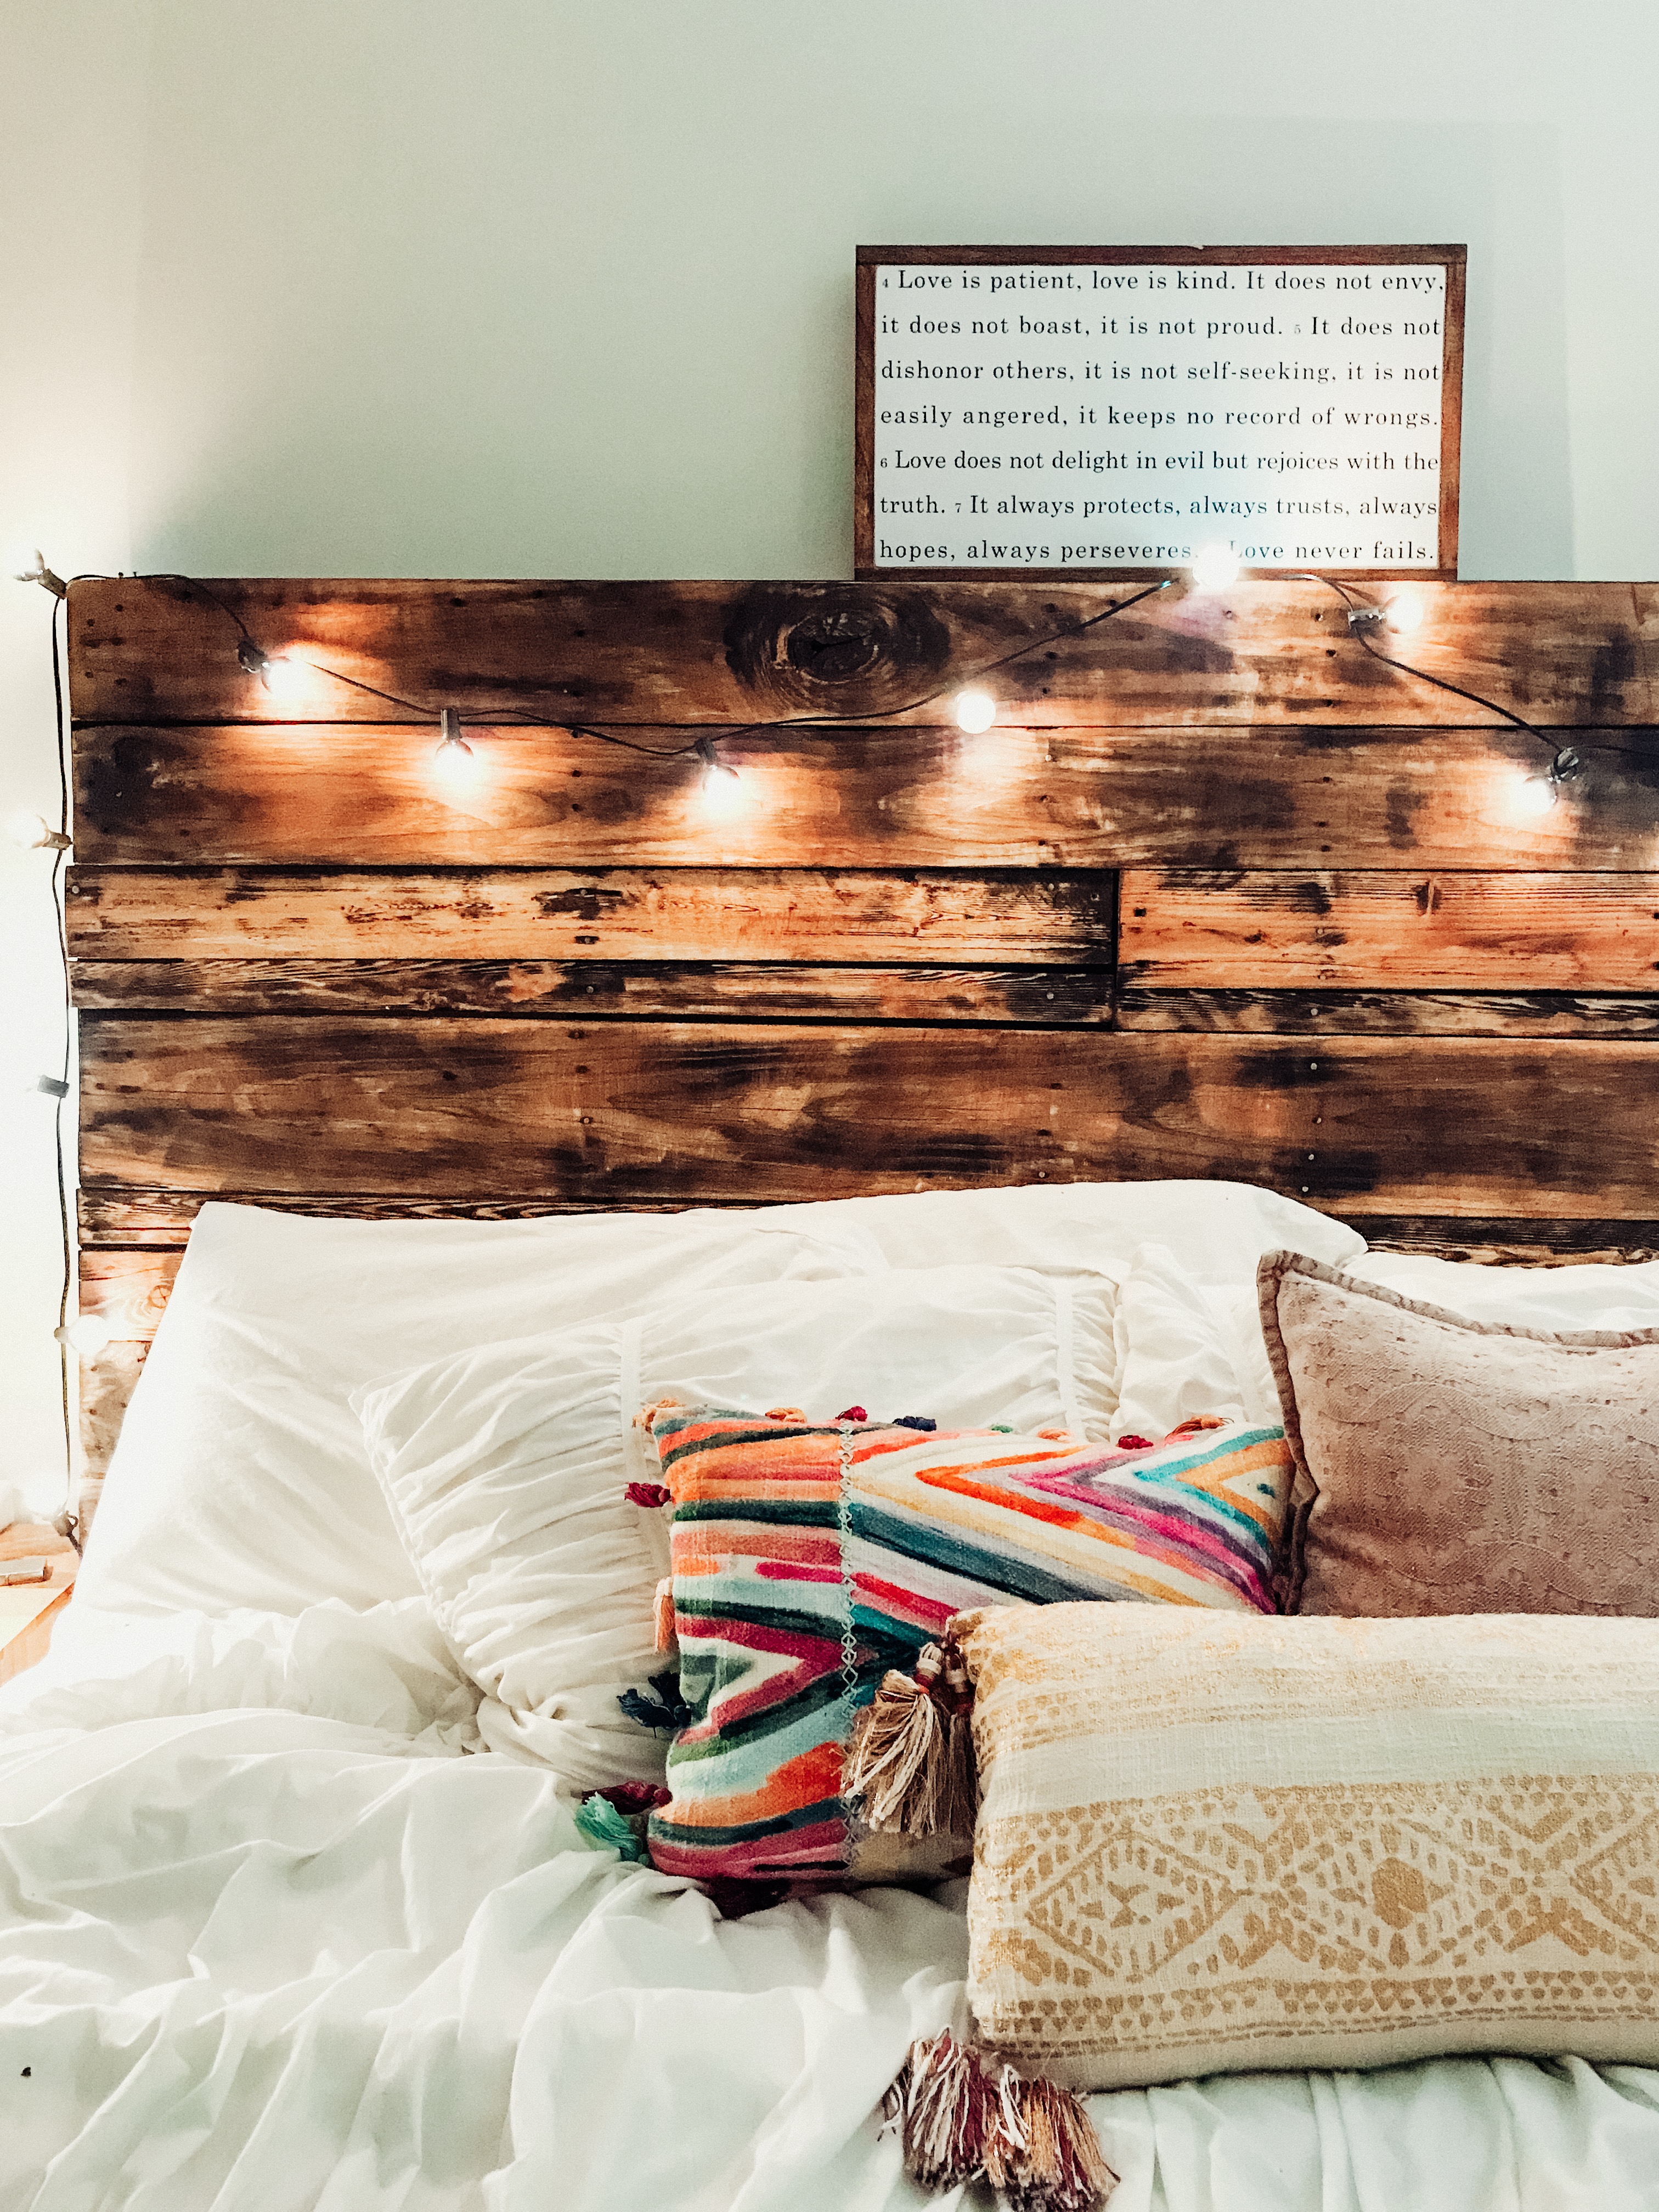
Here’s the final product! Turned out pretty well, wouldn’t you say?

While I love creating and trying new projects like this, I’m going to be honest in saying that DIY can be super frustrating (real talk, we had to stain this twice because the first time it turned out waaay too dark…).
As frustrating as it can be, I love it because it’s a great way to practice giving grace to ourselves and our work in the imperfect process, it really reveals how much we really don’t know (which is super humbling), teaches us to persevere and problem solve, as well as gives us an opportunity to create something that will be valuable and useful.
Building something gives such a beautiful picture and reminds us of the labor and work we are called to when building the kingdom.
Ephesians 2:10 says that we are God’s workmanship and Genesis 1:27 tells us that we’ve been made in His image.
So, it makes sense that we thrive when we create. We don’t have to be the greatest artists to create something meaningful, either. We are created to create and as His creations we can glorify Him by using the skills He’s given us to create–and that totally counts when it comes to DIY projects!
“He has filled them with skill to do every sort of work done by an engraver or by a designer or by an embroiderer in blue and purple and scarlet yarns and fine twined linen, or by a weaver–by any sort of workman or skilled designer.” Exodus 35:35
It’s a totally imperfect, soul-scrubbing process but it’s so life giving when we allow ourselves to work diligently at something.
So, as much as this is different from my usual blog post, I’m so happy to share with you we made this headboard so that you can try it out and experience the joy that creating really brings, too!
Supplies You’ll Need:
- Two pallets – one large and one standard size (A lot of places will give them away, but you can also find them at a home improvement store or on construction sites)
- One 6ft 4×4 beam
- Sander with 40 grit and 120 grit paper
- Stain of your choice (we used a Light Walnut stain)
- Nails
- 2″ screws
- Hammer and Handheld Drill
- Saw
- Paint brushes (1 large and 1 medium size)
How to Build It
1.Measure length of your bed (queen, king, full, etc.) and find larger pallet that’s slightly wider than your bed (you’ll want to make sure the pallet is at least 6-7 inches wider than your bed. If you look at the photo of our finished headboard, you’ll see that 3-4 inches of the pallet extends on each side of the bed, which look much better than if it were perfectly flush width-wise.
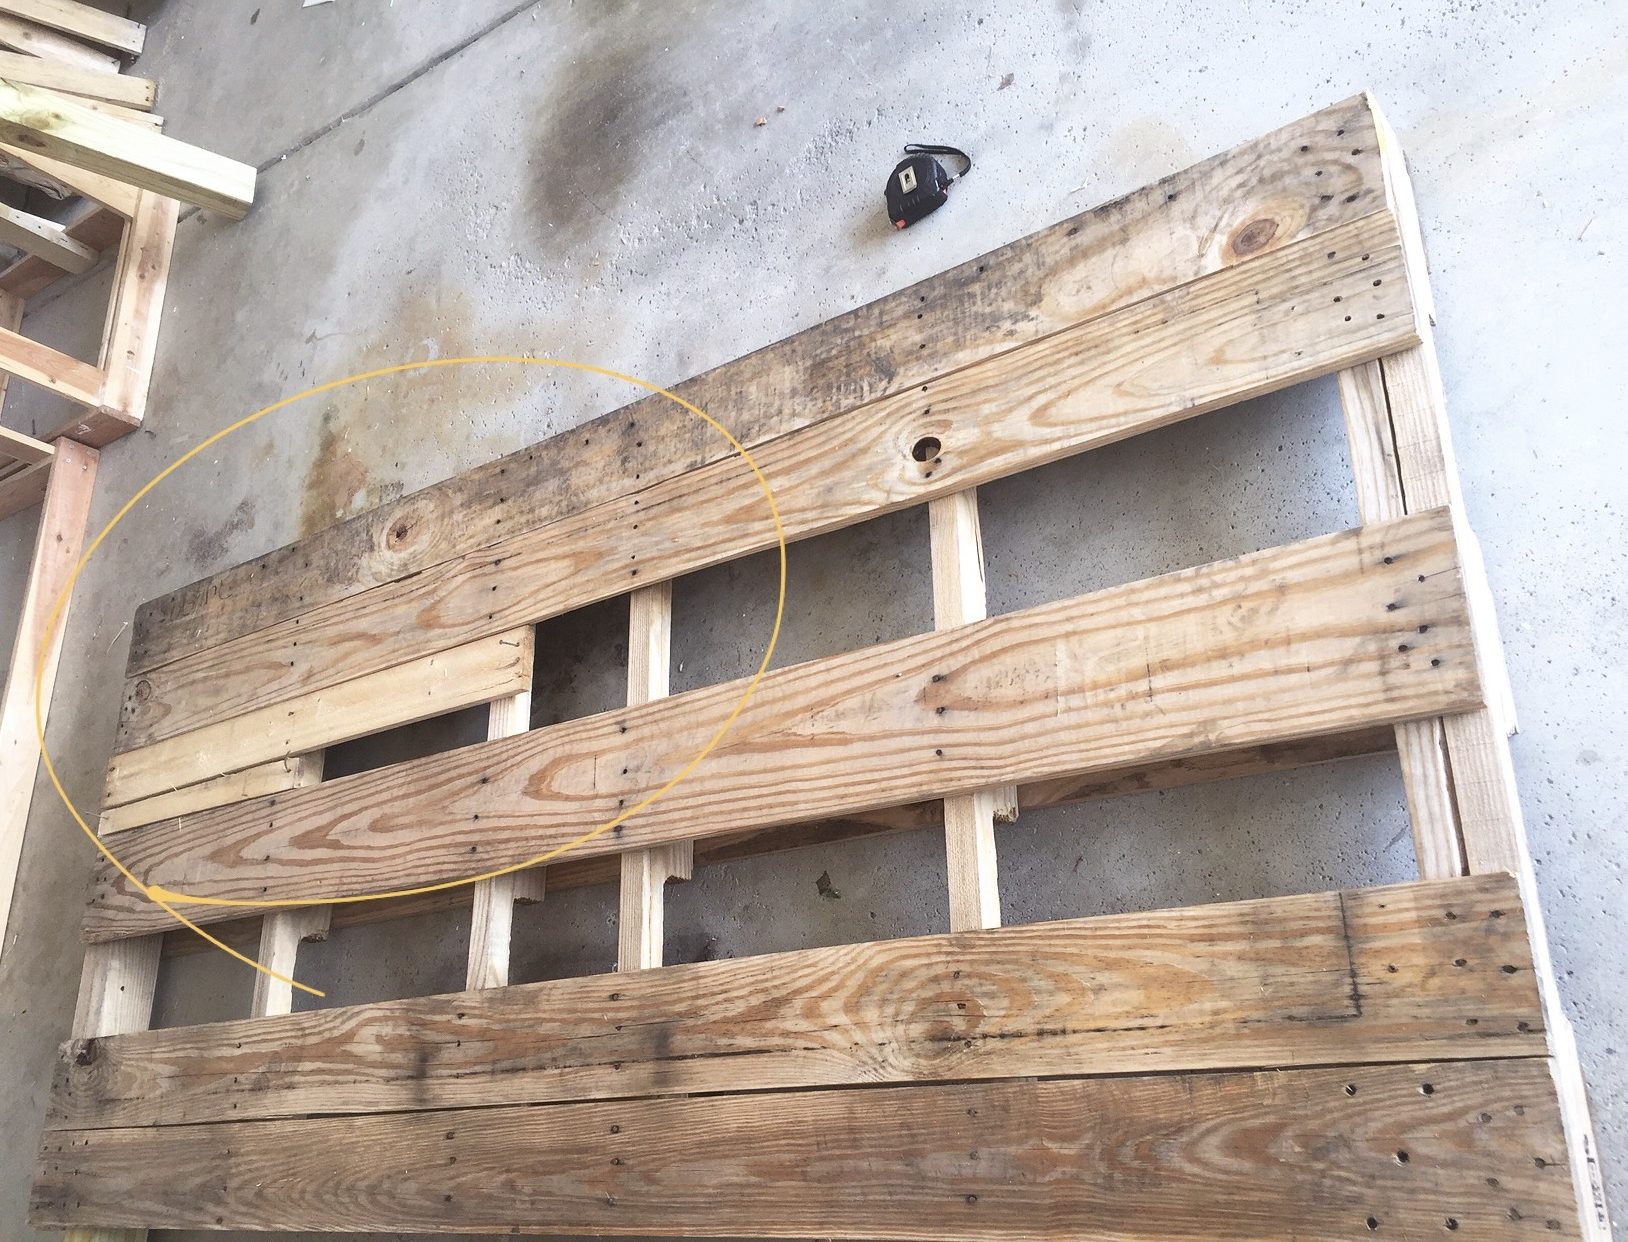
2. Remove the boards from the standard size pallet and fill in the gaps on the big pallet by cutting those pieces and screwing them into the large headboard. The large pallet we found had big gaps in between the wood slabs on the front so we ripped the boards off the standard size pallet and filled in the gaps on the big pallet with them! If your large pallet does not have big gaps, you may not need this step. See example:

3. Cut your 6ft 4×4 beam into two pieces for the legs. Measure from the top of your mattress to the ground and cut your pieces about 2 inches shorter than that. We cut the beams to 28″ and this allows for the top inch or two of your mattress to cover the bottom edge of the headboard so that there is a bit of overlap and you don’t somehow hurt or splinter yourself on the bottom edge of the wood in your sleep!
4. Line up the legs so that they are flush with the side back and screw in the legs about 3 inches from the outer edge of the pallet on each side.
5. Once assembled, use a sander to smooth out all rough edges and to prepare for the stain. This is in important step because if it’s going to be furniture used in your bedroom, you don’t want to risk splintering or cutting yourself on a rough edge
6. After sanding all edges and sides, place the headboard on a tarp or old sheet and use a large and medium paint brush to cover the entire surface with your stain. Depending on how dark you want it, you may want to do two coats.

7. Allow stain to dry for at least 24 hours
8. Place behind bed and fasten to wall with screws and drill to keep it from leaning over the edge of the bed.
9. My favorite part: Add bistro lights, fun throw pillows, or other accessories to give it a little pizzaz!
Like I said, our house is a mismatch of DIY projects, antique finds, and hand me downs. It’s imperfectly wonderful and it’s funny because I feel like life is so abundantly full right now. We have enough stuff but not a ton of stuff.We don’t plan to be in a rental house forever but we do plan to celebrate life and glorify God forever. This is just one of many ways to do that 😉
I hope, that as life gets busier and more complex, we never lose sight of simplicity and generosity because there’s seriously so much joy in it. I hope we never forget to make space, open our doors, and choose to live abundantly over trying to be impressive or keep up with the Jones’.
And I hope that for you, too.
Have FUN with your life and celebrate life in the space you’ve been given, even if it’s a dorm or temporary space. Instead of always looking ahead or chasing after more, make more of the what you have.
[bctt tweet=”Instead of always chasing after more, make more of what you have!” username=”simplyjordanlee”]
Regardless of what you do, you’re going to be so much more full of life if you choose to be a good steward of your money, be open handed with your finances, allow yourself to try new things, glorify God in all seasons, and focus on what matters most!
And remember, we had to completely sand down the first stain and do it over. You’re going to make mistakes along the way–just like in life. But the good news is that it doesn’t have to be perfect. It just needs to be done with purpose!
Whatever you do, work heartily, as for the Lord and not for men. Colossians 3:23


Love this! Turned out so beautiful and I can’t wait to try it!
[…] The distressing appeal of the pallet wood is really something that can not be cherished by the fresh wood possessions so here is this lovely pallet wood headboard to enjoy the peculiarity of the rustic wood in your bedroom decor. With the easy pallet slat stacking method, you can yield this simple and feasible pallet headboard. The rustic appeal has been enriched with the brown stain and here are the gorgeous results with the added lights to make it look more stunning and awesome thesoulscripts […]